This kit is packed with everything you need to create salon-style nails at home.
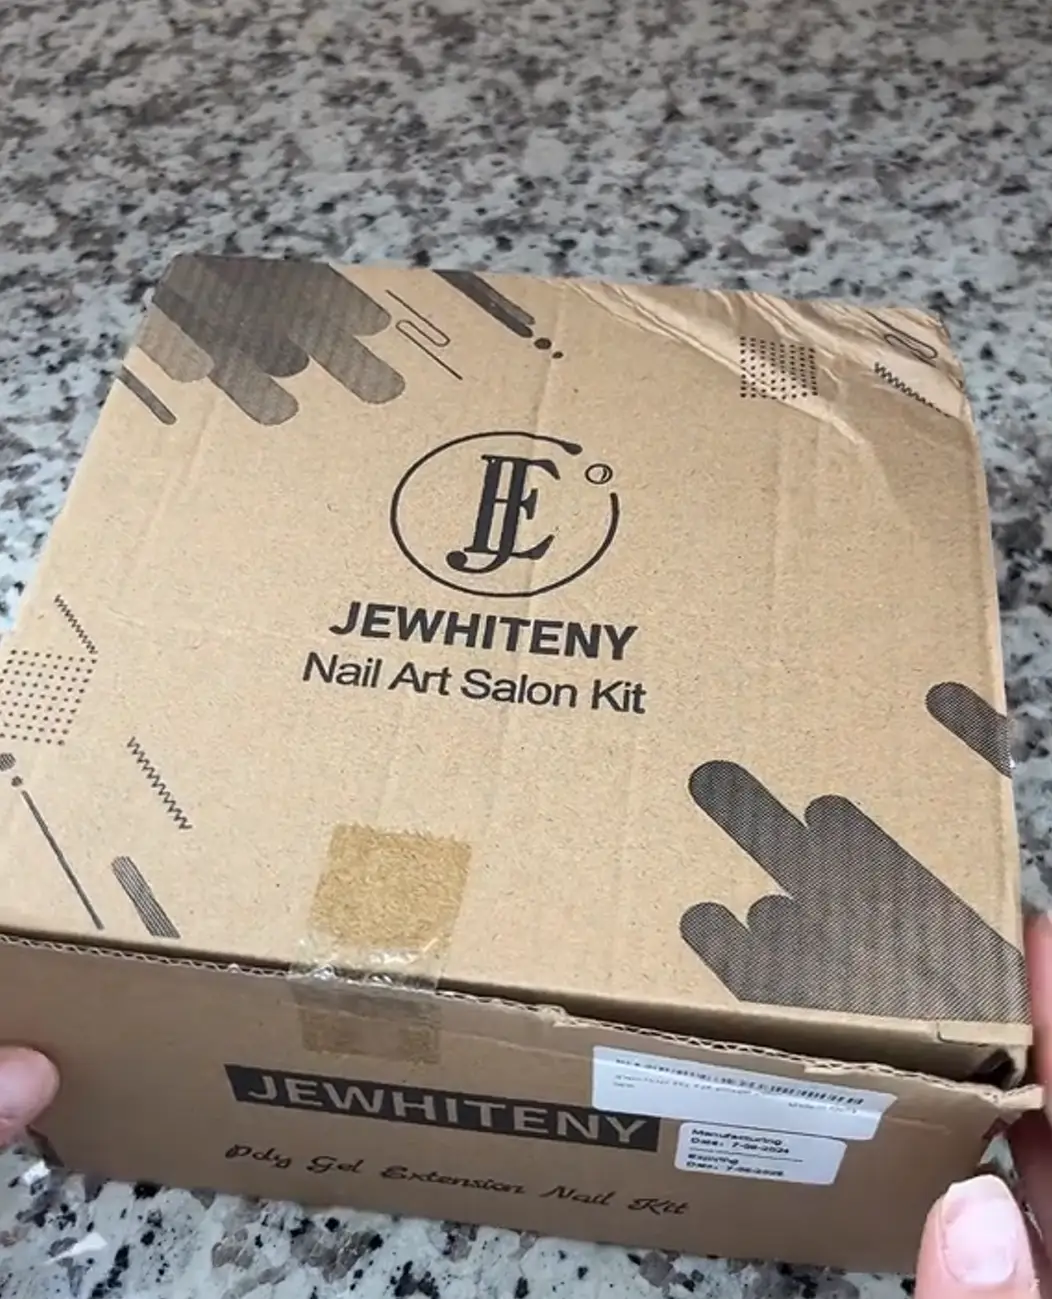
What’s Included
- 28 different polygel colors
- Slip solution & polygel brush
- Nail prep tools & cuticle oil
- UV lamp
- Nail forms
- Base coat, top coat & matte coat
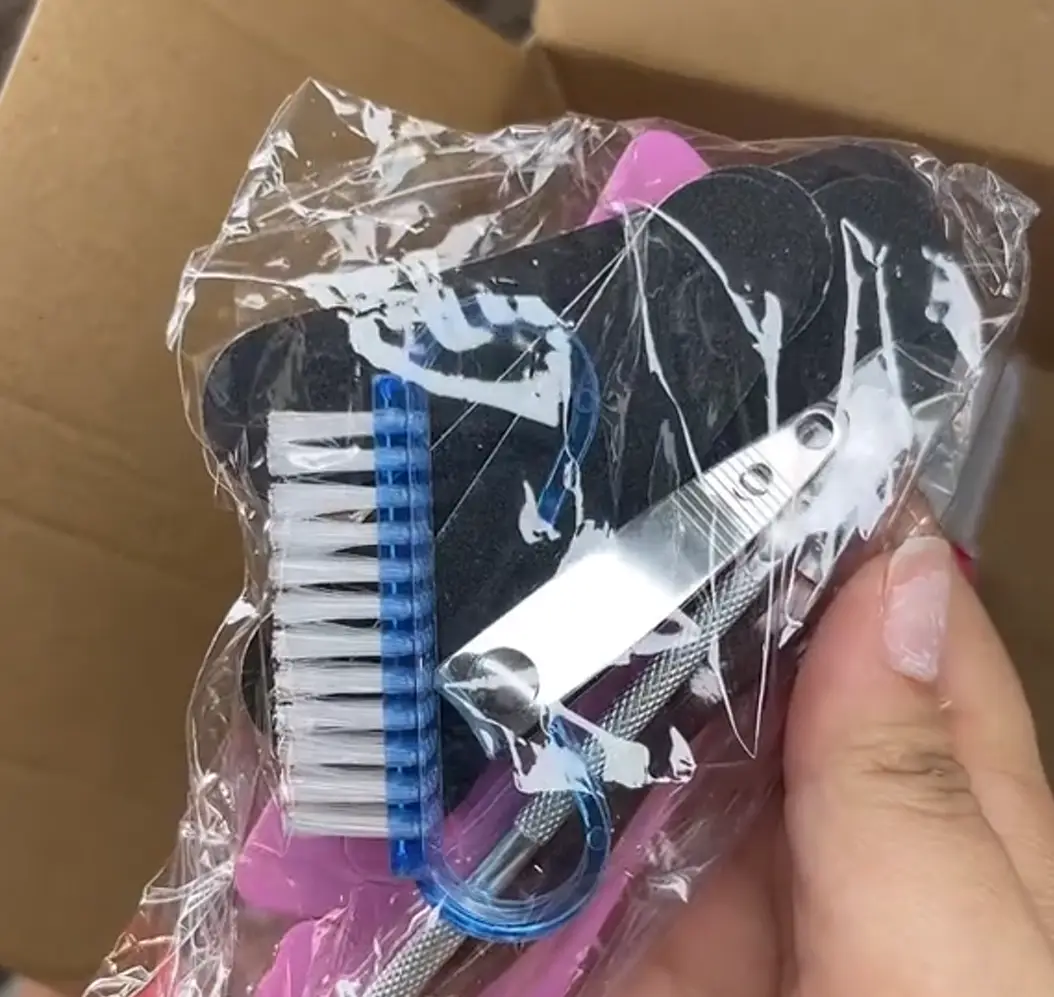
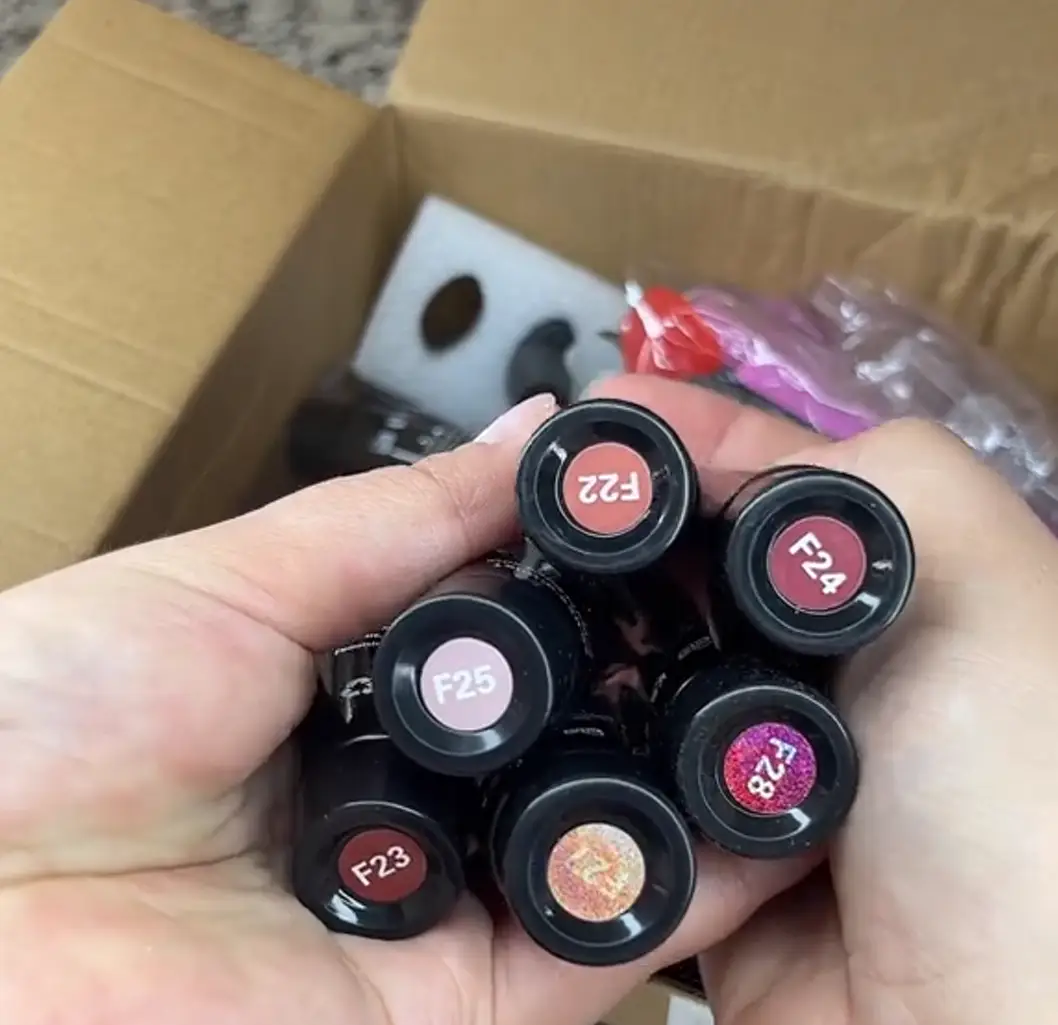
That’s a LOT of colors—I didn’t even know where to start! Here are a few of my favorites:
My Application Process
- Prep – I cut, filed, and pushed back my cuticles. Then used the brush from the kit to dust off everything.
- Base Layer – I set up the UV lamp and applied a thin layer of base coat for the polygel to stick to.
- Forms & Slip Solution – Matched the forms to my nail sizes, poured a little slip solution into the lid.
- Applying Polygel – The polygel has a firm consistency, which makes it super easy to shape. I carved out the middle and tapered the edges with the brush.
- Curing – I cured each nail for 2 minutes (1 min front, 1 min back), then popped off the forms.
- Finishing – Filed, applied the top coat, and added cuticle oil.
Results
- The polygel applied evenly with no patchiness.
- The finish was smooth, shiny, and consistent.
- I kept mine short for convenience, but the forms allow for long nails too.
- The glitter shade I tried looked like jelly nails—slightly see-through with sparkles. Super cute!
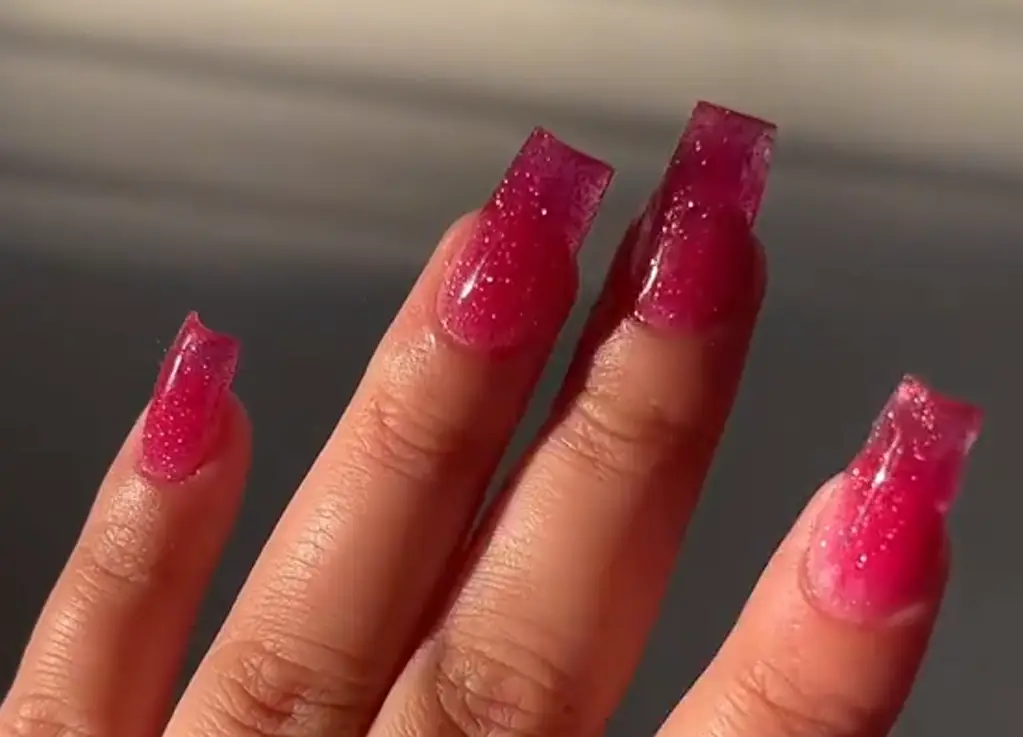
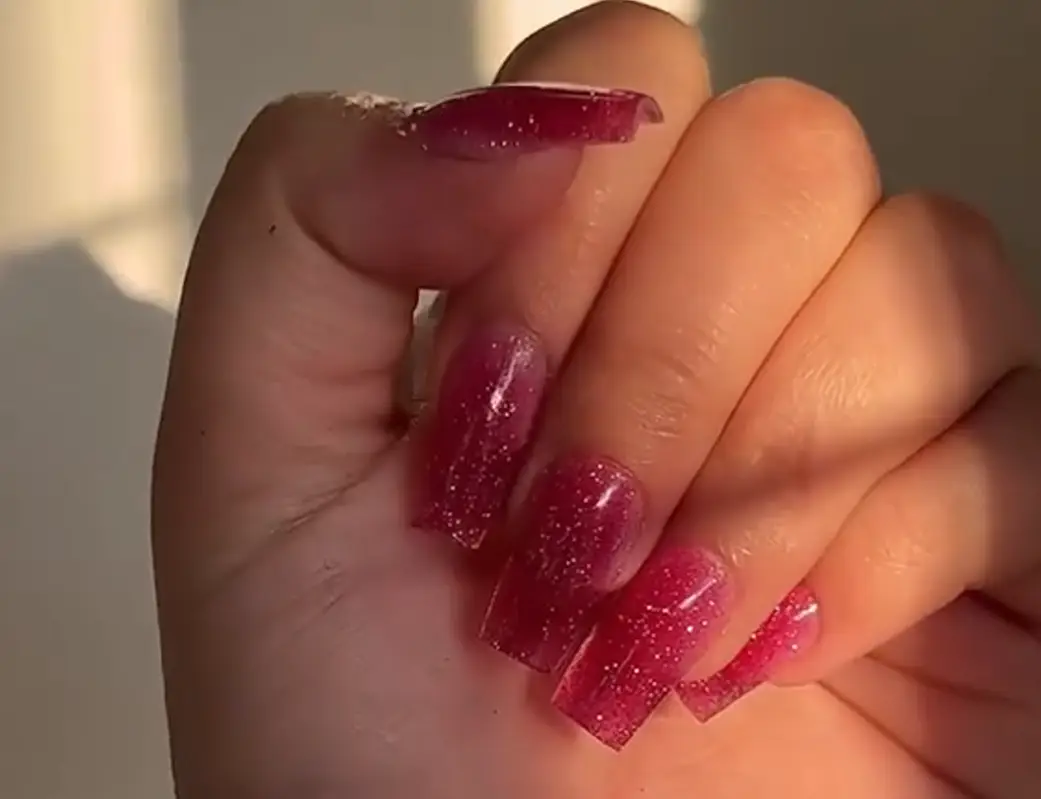
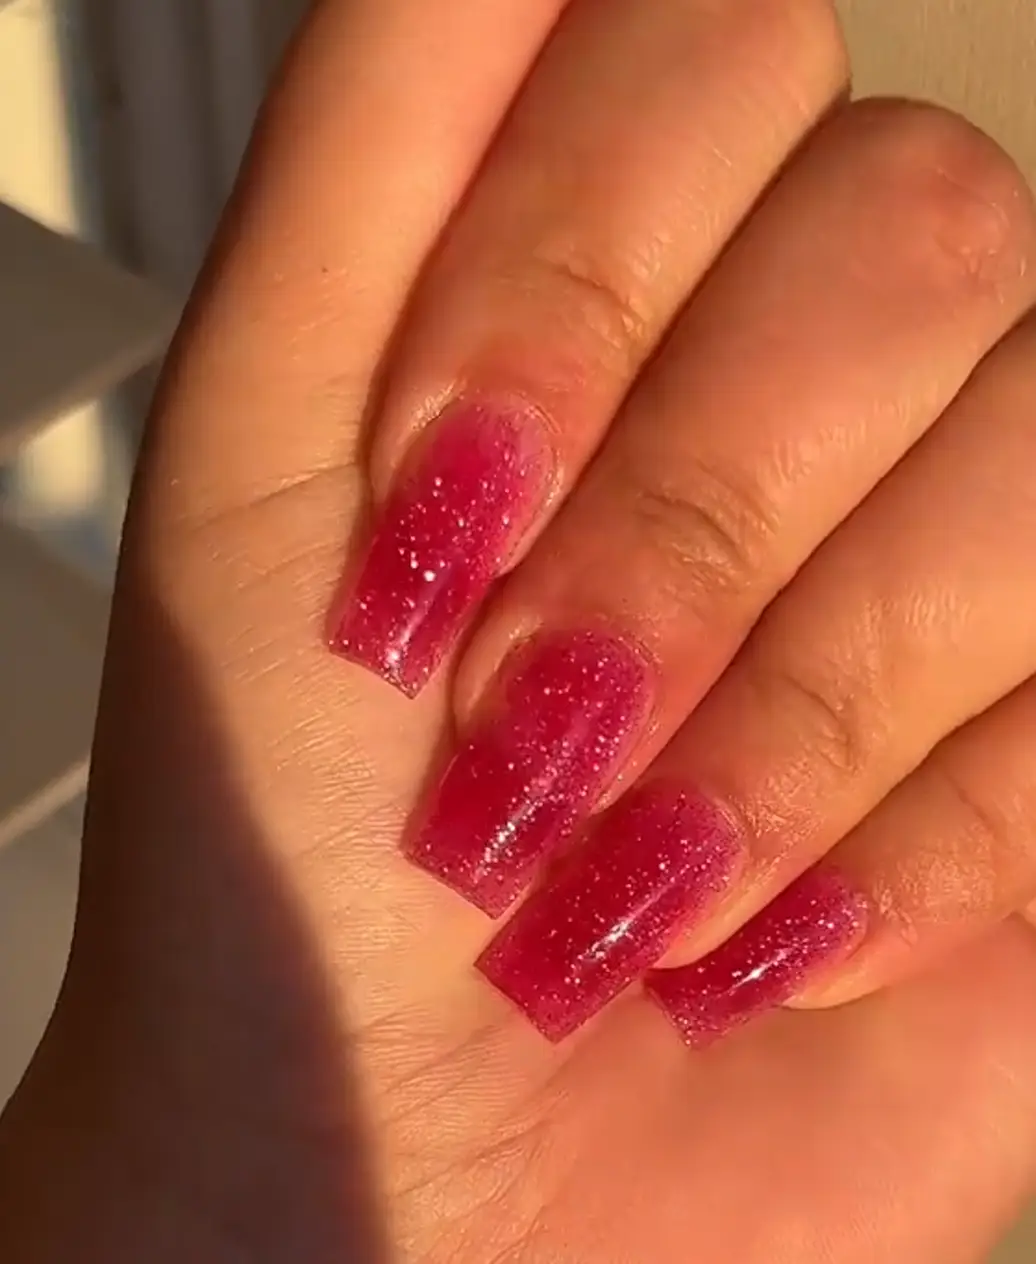
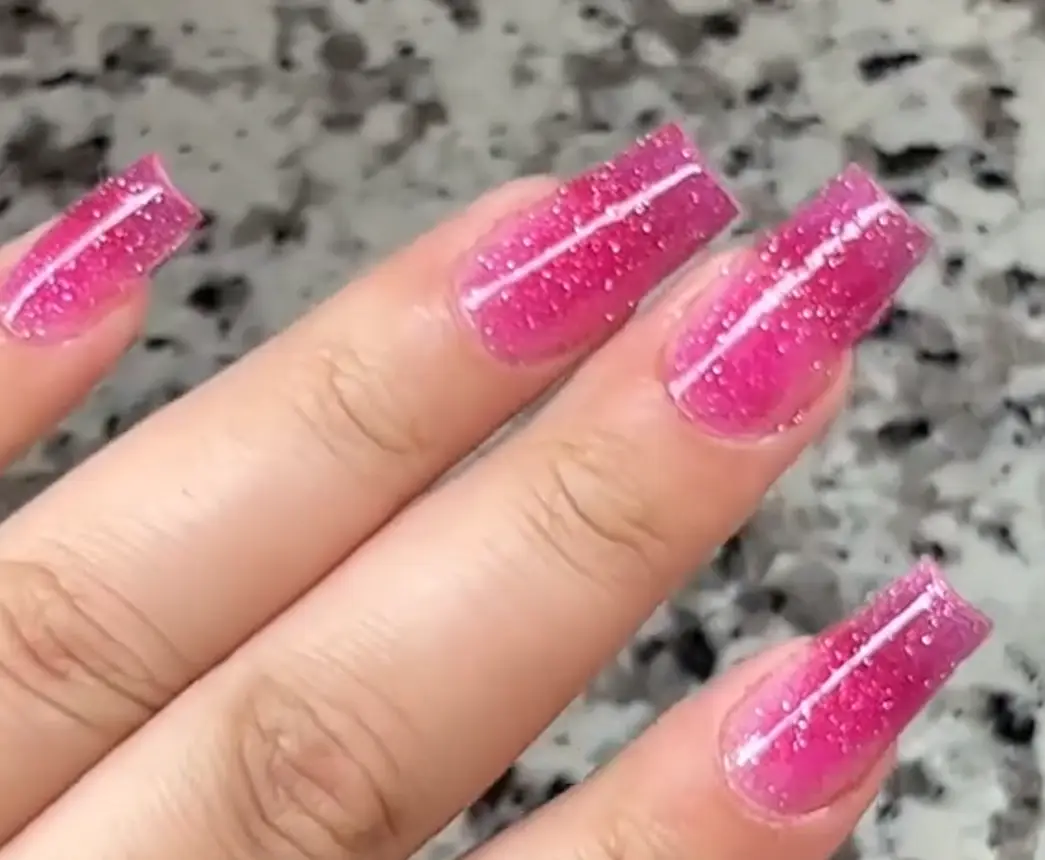
I’m really impressed with this kit. With so many colors to choose from (both translucent and opaque), it’s versatile for any style. My nails turned out adorable, and I definitely think this set is worth it if you want to DIY your nails at home.