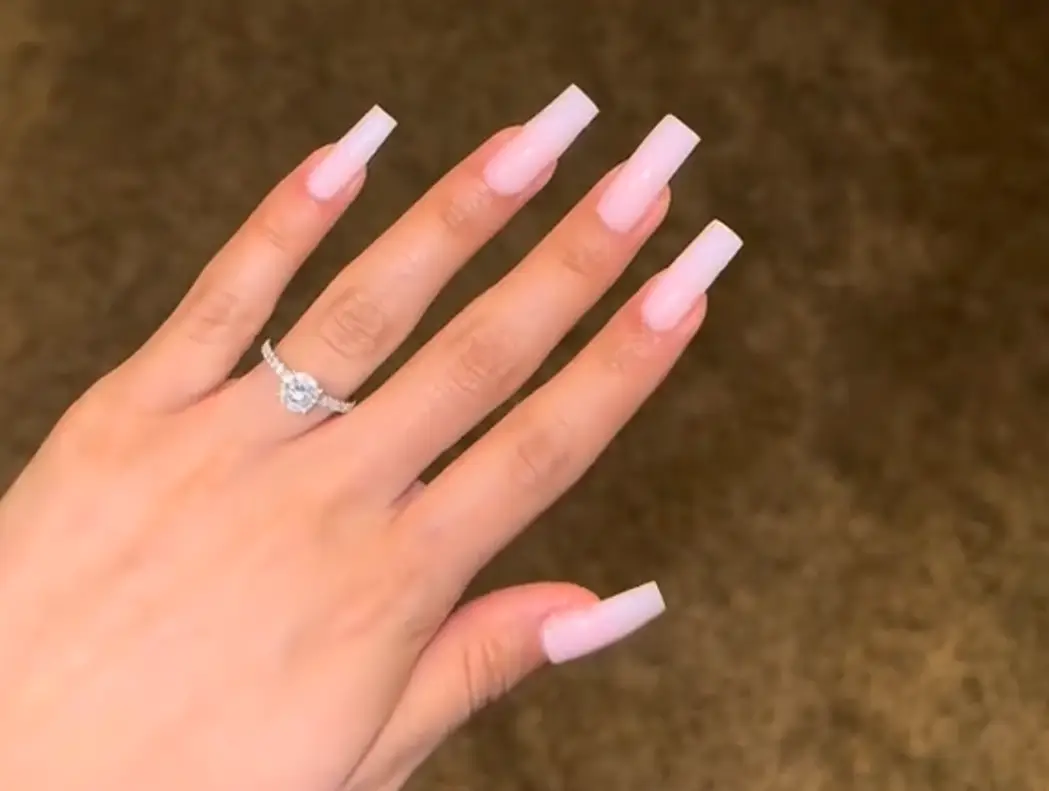
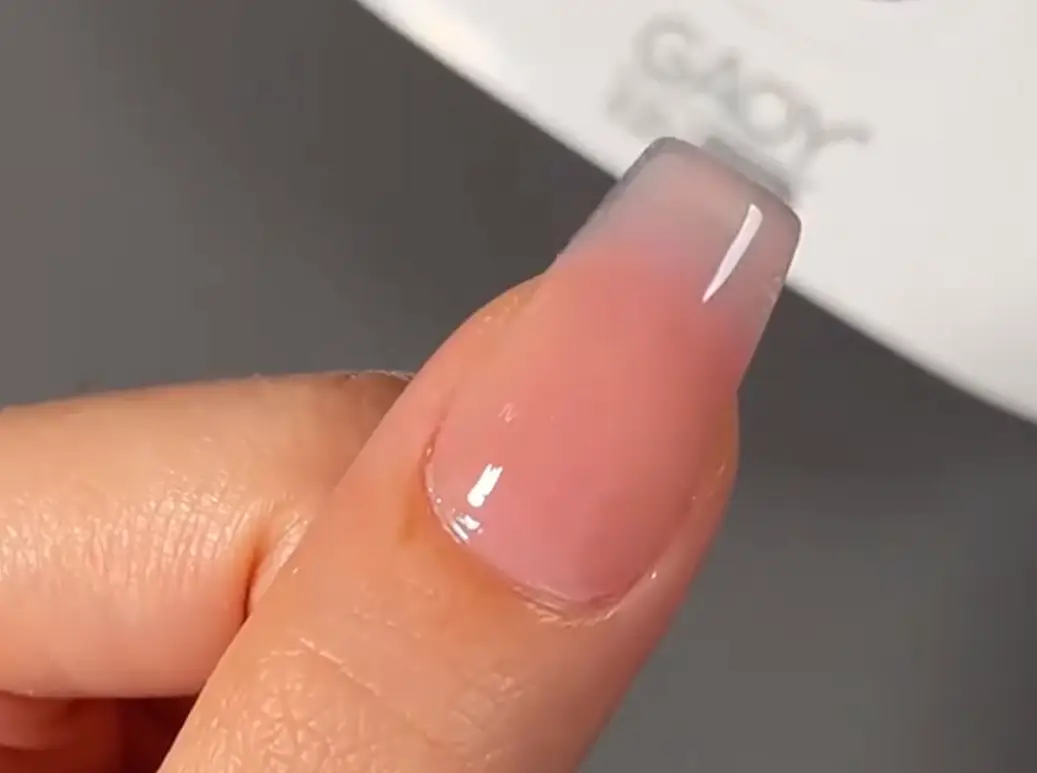
If you love pretty nails but don’t want to spend too much time or money at the salon, polygel nails are a great choice. They are strong, easy to shape, and look professional. The best part? You can do them yourself at home!

In this tutorial, you’ll learn how to apply polygel nails step by step — even if you’ve never tried before. Let’s get started!
What Are Polygel Nails?
Before we begin, let’s talk about what polygel really is.
Polygel is a mix of acrylic powder and gel. It has the strength of acrylics and the flexibility of gel polish. It doesn’t have a strong smell like acrylics, and it’s easier to file and shape.
Many people like polygel because it looks natural and lasts for weeks. You can use it to extend your nails or simply to make your natural nails stronger.
What You’ll Need
To apply polygel nails at home, you need a few basic tools. Most polygel nail kits include these items:
- Polygel tubes – the gel that forms your nail.
- Dual forms or nail forms – molds to shape the nail.
- Slip solution – helps you move and shape the polygel smoothly.
- Brush and spatula – used to apply and shape the gel.
- Base coat and top coat – to protect and shine your nails.
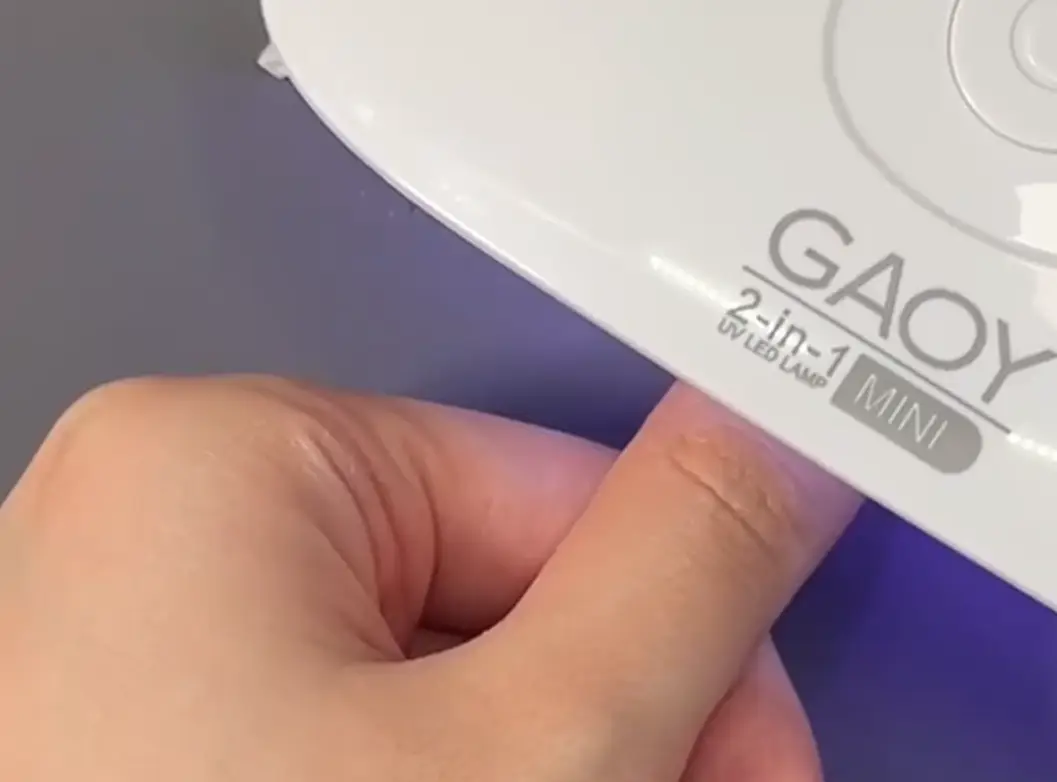
- UV or LED nail lamp – to cure (harden) the polygel.
- Nail file and buffer – to shape and smooth your nails.
- Cuticle pusher and nail cleaner – for prep work.
If you don’t already have a complete set, the Jodsone Gel Polish Set is a great option for beginners. It includes everything you need to start — polygel tubes, a UV lamp, base and top coats, nail forms, slip solution, and even nail tools. The colors are bright, long-lasting, and beginner-friendly, so you can easily create salon-quality nails at home.
Step 1: Prepare Your Nails
Good nails start with good prep. Follow these steps:
- Wash your hands and dry them well.
- Push back your cuticles gently using a cuticle pusher.
- Trim and file your nails to your preferred shape.
- Buff the nail surface lightly to remove shine. This helps the polygel stick better.
- Clean your nails with a nail cleanser or alcohol pad to remove dust and oil.
Tip: Never skip this step! If your nails are oily or dusty, the polygel won’t stay on long.
Step 2: Apply the Base Coat
Now apply a thin layer of base coat to each nail.
Cure (dry) it under the UV/LED lamp for about 30–60 seconds, depending on your lamp.

The base coat helps the polygel stick and prevents lifting later.
Step 3: Choose Your Dual Forms
Dual forms are plastic molds that help you create perfect nail shapes.
Choose one that fits your natural nail. It should cover your nail from side to side without touching your skin.
If the form is too small, the gel might not hold. If it’s too big, it can look bulky. So take your time picking the right size.
Step 4: Apply the Polygel
Now comes the fun part!
- Squeeze a small bead of polygel from the tube using the spatula.
- Place the bead inside the dual form (not directly on your nail).
- Dip your brush in the slip solution, then tap off the extra.
- Use the brush to spread and shape the polygel inside the dual form.
- Keep it thin near the cuticle and thicker in the middle for strength.
- Don’t rush — smooth it out until it looks even.
Step 5: Place the Dual Form on Your Nail
Once shaped, gently press the dual form with the polygel onto your natural nail.
Make sure it’s straight and the gel doesn’t touch your skin.
If any gel comes out around the sides, use your brush to clean it before curing.
Then cure it under the lamp:
- LED lamp: about 60 seconds
- UV lamp: about 2 minutes
When the gel is fully cured, it should feel firm and hard.
Step 6: Remove the Dual Form
After curing, carefully remove the dual form by gently lifting it from the sides.
You’ll see your beautiful new nail underneath!
If the surface feels sticky, wipe it with alcohol or cleanser to remove the tacky layer.
Step 7: Shape and File
Now it’s time to shape your nails the way you like them — square, round, almond, or coffin shape.
Use a nail file to smooth the edges, then a buffer to even out the top.
This step makes your nails look clean and professional.
Step 8: Apply the Top Coat
Finish your look with a thin layer of top coat.
Cure it under the lamp again for 30–60 seconds.

The top coat adds shine and protects your nails from chipping. You can choose between glossy or matte finish, depending on your style.
Step 9: Clean and Moisturize
Finally, wipe your nails one more time with alcohol to remove any sticky residue.
Then apply cuticle oil and hand lotion to keep your skin soft and healthy.
Extra Tips for Beginners
Here are some quick tips to help you get better results when learning how to apply polygel nails:
- Don’t use too much gel — thin layers look more natural.
- Keep your brush slightly wet with slip solution, not soaked.
- Cure each nail completely before moving to the next.
- Store your polygel in a cool, dry place to avoid thickening.
- Practice makes perfect! Your first try may not look salon-perfect, but you’ll improve quickly.
How to Remove Polygel Nails
When you’re ready to take them off, don’t peel or pull them — that can damage your nails.
Here’s how to do it safely:
- File off the shiny top coat.
- Soak your nails in acetone or use acetone wraps for 15–20 minutes.
- Gently push off the softened gel with a cuticle pusher.
- Buff and clean your nails.
- Finish with cuticle oil.
Doing polygel nails at home may sound hard, but once you practice a few times, it becomes fun and easy. You’ll save money, learn a new skill, and enjoy beautiful nails anytime you want.
Recommended Product:
If you want to make your first polygel nail experience easy and fun, try the Jodsone Gel Polish Set. It’s an all-in-one kit with everything you need — from the UV lamp and polygel colors to nail tools and decorations. It’s perfect for beginners and gives beautiful, shiny results every time.
So grab your polygel nail kit, follow these steps, and enjoy your salon-style nails right from home!